

Microchips are a lost pet’s ticket back home, but they can be missed by an improper scan. Whether you’re an animal welfare professional, a rescuer, or just a pet parent, you should know how to properly perform this critical task. Here are the steps to scan for a microchip.
Before we get to the steps, I suggest you take a minute to learn about the different kinds of scanners and microchip frequencies. This will help you understand which scanner you should be using on which pet.
STEP ONE: Turn on the scanner
This may seem obvious but, since all scanner operate slightly differently, it is an important step. Remember how in the early days of computers “I can’t print” was the most frequent call to tech support? The first question was always, “Is is turned on?” Actually this was the second question, the first being, “Is it plugged in?” but we’ll get to that in step two.
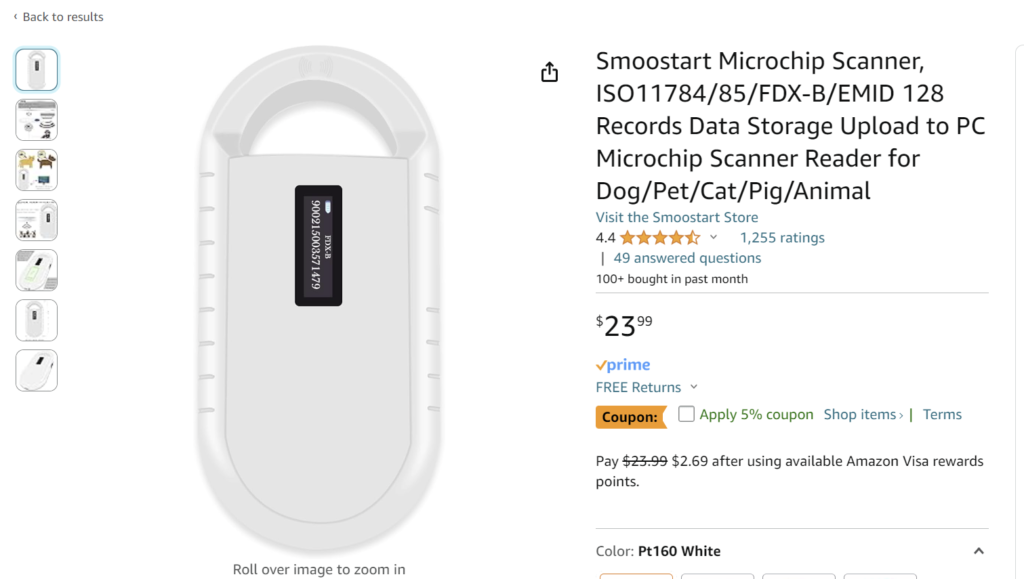
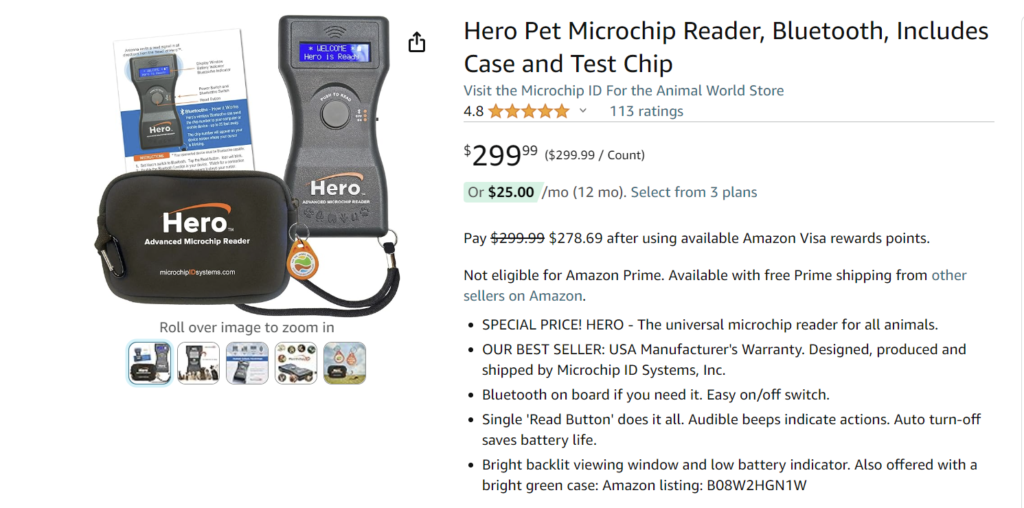
Many of the less expensive scanners you can find on Amazon turn on with the push of a button. For ease of use, most of these units only have one button. When you press it you will hear a beep and see something in the display window like the name of the scanner or “ready to scan.” Some of the more professional-grade scanners like the Hero have a toggle switch which goes between off, on, and Bluetooth mode. To use, you switch it on then press the button.
STEP TWO: Make sure the batteries are charged
Most of the lighter-duty scanners charge with a USB cord like just about every other small electronic device these days. Like your phone, the display on the scanner will show a picture of a battery with lines to indicate the state of charge.
It is very important to not let the scanner power down. Some people like to do this with their phones with the theory that it will make the battery last longer. Personally, having a fully functioning phone if I’m lost or in an emergency is much more important than having a long lasting battery in a device I’m going to replace in a year or two anyway. The reason this is so important in a scanner is that a low battery can reduce effectiveness. I have heard from friends who run microchip clinics that they may scan with one scanner and get nothing, scan with another and there’s the chip.
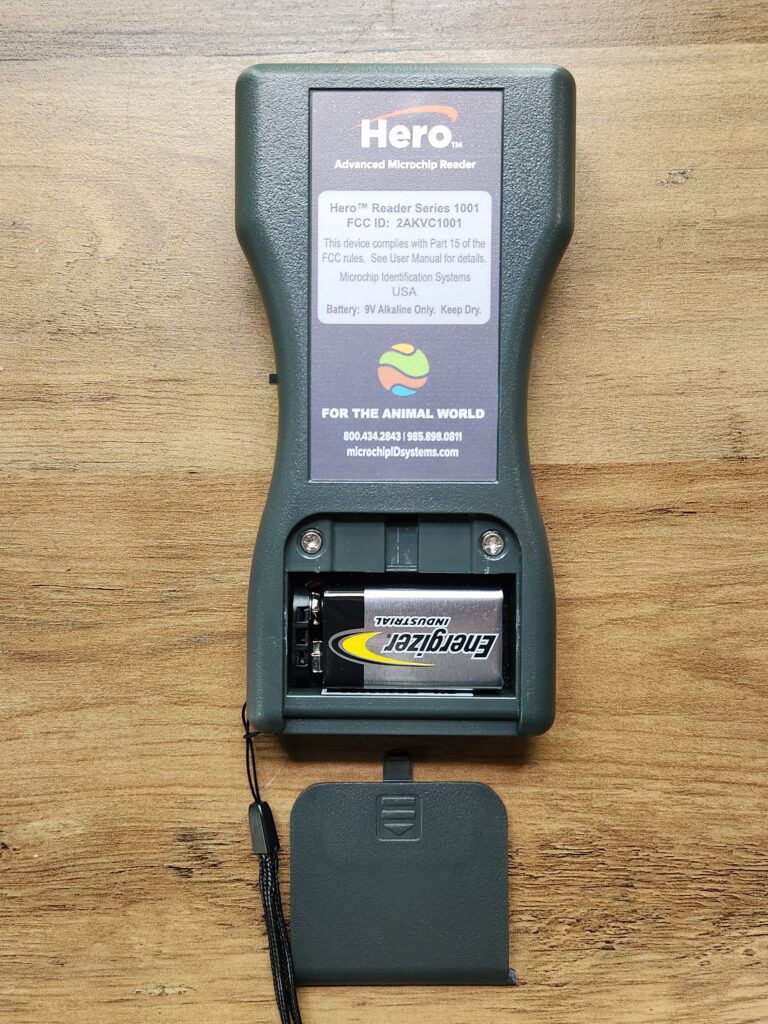
Other scanners like the Hero run on regular batteries, not rechargeable, so it is important to make sure these are fresh and fully functioning. If in doubt, replace them. If your scanner sits for long periods of time, check the batteries for corrosion as you would in any other battery-operated device.
STEP THREE: Push the scan button
This may seem obvious, but not all scanners work the same way. This is one of the things I noticed right away when I was test-running scanners for my previous article Which Pet Microchip Scanner is the Best? On most of the lighter-duty units you press the button and it initiates a scan. You can take your finger off of the button and it continues. Not so with the Hero: you must keep your finger on the button the whole time while scanning.

It is very important to push the button in accordance with the scanner you are using. You should be able to tell that the unit is scanning by looking at the display. It will show moving arrows, the word “scanning,” or some other message. If in doubt, scan a test chip before using it on an animal. Many scanners like the Manruta come with a test chip in a little fob. I searched Amazon to see if one could be purchased separately but I couldn’t find any.
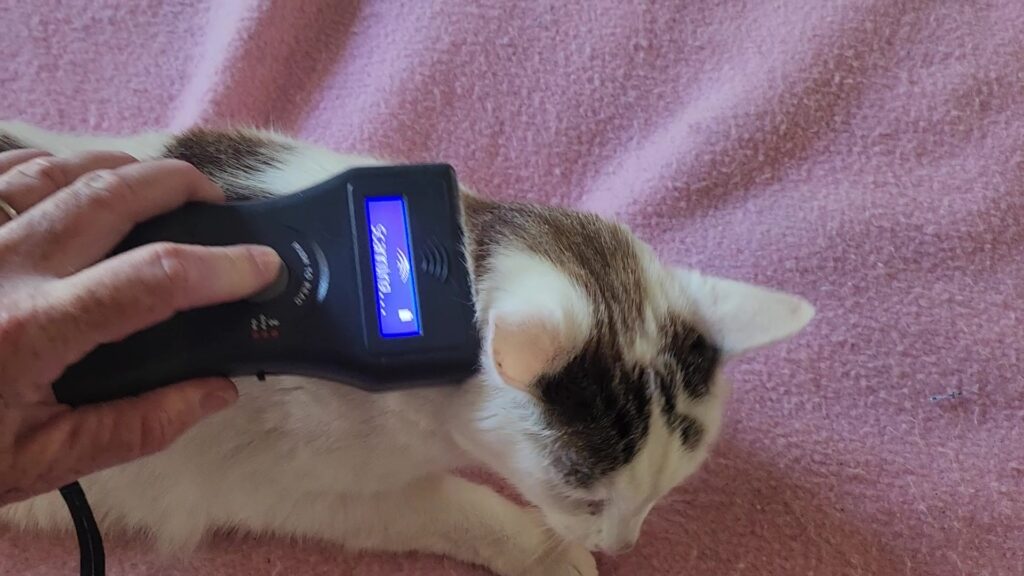
STEP FOUR: Run the scanner over the animal’s body
Microchips are normally implanted in the loose skin above the shoulders of a dog or cat. Start scanning here then move down the shoulders and front legs to the left and right. Keep the scanner touching the body. While some scanners claim to read a chip from a distance, don’t rely on that. Keep the scanner — or at least the part of the scanner that reads the chip — touching the animal’s body.
If nothing comes up, extend the scan over the whole body. This may seem ridiculous but chips do migrate and I have found some way down the leg in dogs. Move slowly and give the scanner a chance to do its job. Run over the whole body several times. I was recently scanning a found dog and the chip didn’t come up at first. It did come up after a second scan over the same area. The scanner isn’t a magic wand, it’s a piece of technology that must be used properly to work.
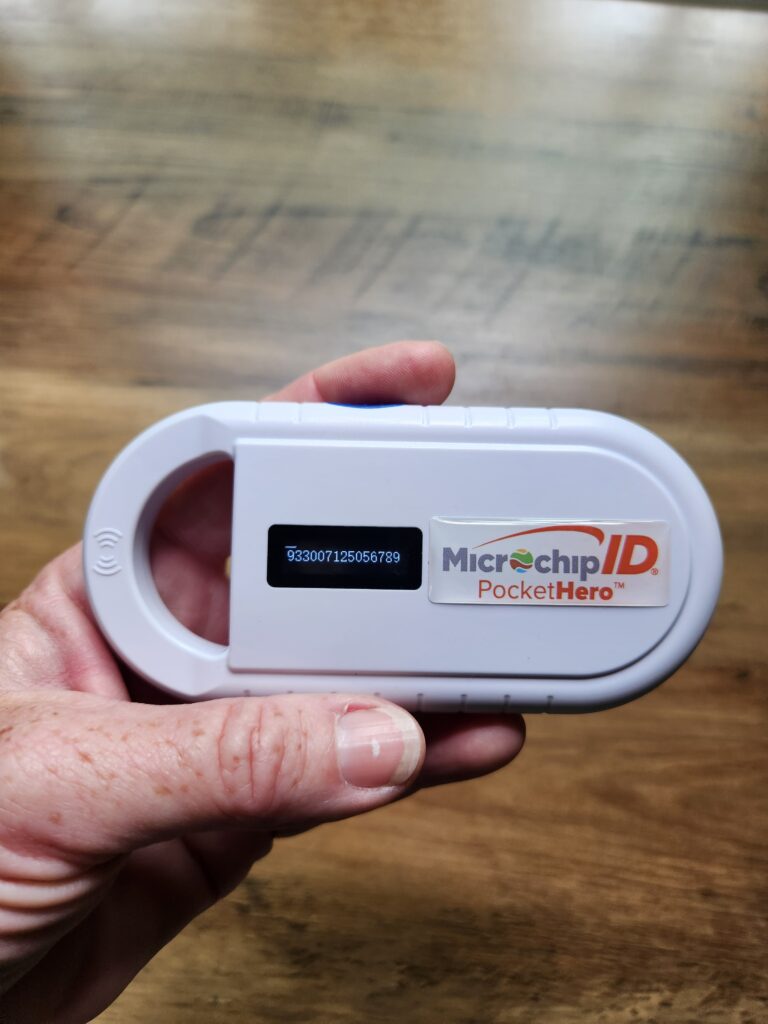
STEP FIVE: Store the microchip number
The scanner beeps and a number displays in the window. Hurray! Chip found! Now what? Depending on your scanner, the number may be saved in the memory or it may quickly disappear. If your scanner is connected via Bluetooth or USB to a computer or mobile device, the number will appear wherever you have placed the cursor.
Often I am outside or in a barn scanning found dogs so a quick way to save the number is to take a picture of the screen with my phone. I want to save the number right away and avoid having to scan again. Many found animals are fearful and may bite or scratch, so I only want to do this procedure once. If you are scanning more than one animal you may want to name the image to keep track, for example with the pet’s name (if it is yours) or description (found black cat).
STEP SIX: Check registration
Now that you have the microchip number you can take the next steps. If this is your pet you’ll want to make sure the chip is correctly registered. If a found pet, you’ll want to get in touch with the owner so they can be reunited. Start this process with Pet Microchip Lookup. This tool will tell you if a chip is registered, on what date, and with which registry. With more than 20 registries in the U.S. alone this website is a real time saver.
Once you’ve identified the registry you can call or go to their website to check the information. Many companies these days won’t give out owner info; rather, they will call the owner and give them your number or they will get both of you on a conference call. I recently scanned a found dog who had a registered chip. The company got the finder in touch with the owner and the dog was home in an hour. What a great feeling!